
Have you just got your hands on a travel trailer with a roof needing some serious TLC? Or your trailer cum anywhere-home has been through a lot for the last few months and now it’s showing signs of wear and tear? Whatever the case, a damaged roof can ruin all your travel plans and leave you with nothing but frustration and unexpected repair costs. But relax, fixing your travel trailer roof isn’t a challenging task. In fact, with the right materials, approach, & a little patience, you can restore your roof and get back on the road without any worries. Therefore, here at ManageMyRoof, we have a full-fledged guide on “how to repair travel trailer roof” so you can tackle the job with confidence!
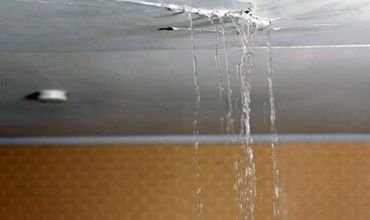
The very first thing that you need to do to protect your travel trailer is to understand the primary causes of roof damage. Addressing these issues in time can prevent costly repairs down the road. Here are some common culprits:
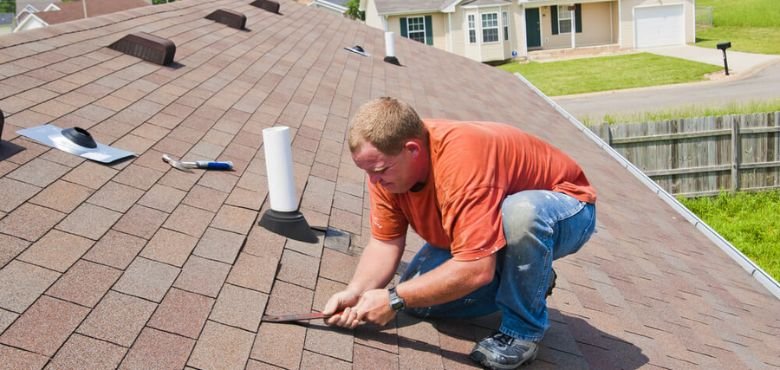
Keeping your travel trailer’s roof in top condition is essential for preventing leaks and maintaining structural integrity. Whether you’re dealing with minor cracks or major damage, here are the key steps on how to repair a roof on a travel trailer:
Step 1- Inspect the Roof- Check for signs of wear, cracks, leaks, or soft spots. Identifying the issue early can prevent more extensive damage.

Step 2- Clean the Roof- Before applying any repair materials, ensure the roof is thoroughly cleaned. Use a specialized rubber roof cleaner or mild soap and water to remove dirt, mold, and debris. A clean surface allows sealants and patches to adhere properly, preventing future leaks. Let the roof dry completely before moving to the next step.
Step 3- Apply Sealant or Patches- Once the roof is clean and dry, apply a suitable sealant or patch based on the type of damage. For small cracks or gaps, a self-leveling lap sealant works best. For larger holes, use a roofing patch kit or repair tape, applying adhesive beneath and sealing the edges for added durability.
Step 4- Reinforce Seams and Vents– Vents, skylights, and seams are common weak points prone to leaks. Apply roofing tape or additional sealant around these areas to strengthen them and ensure water resistance. Keeping these sections reinforced will help maintain the roof’s integrity for a longer period.
Step 5- Allow Proper Drying Time- After applying repairs, allow enough time for the sealant or patch to cure fully. Check the manufacturer’s instructions for drying times before exposing the roof to rain or extreme temperatures. A well-dried repair enhances durability and prevents early deterioration.
Step 6- Perform Routine Maintenance- Once you are done with the repair process, it is your responsibility to ensure the longevity of your travel trailer’s roof through regular maintenance. You must conduct inspections at least twice a year to detect any signs of wear, cracks, or leaks. Cleaning your roof on a timely basis will help prevent the buildup of dirt, mold, and debris that can weaken its surface over time.
As you have an overview of how to repair a travel trailer roof, it’s equally important to focus on protection and maintenance to prevent future damage and costly repairs. Here are some essential tips to extend its lifespan and prevent costly repairs:

After discussing how to repair the roof of a travel trailer and how you can maintain its condition, it’s clear that proactive care is the key to longevity. Make sure you regularly inspect the roof for any signs of damage. In case you feel stuck or unsure about the next steps, don’t hesitate to seek professional advice at ManageMyRoof. Their professional team would feel more than happy to assist you with expert recommendations and tailored solutions for your travel trailer roof.
To repair a leaky roof on a travel trailer, you will first clean the affected area and apply a self-leveling lap sealant or roofing tape to seal the leak. If the damage is extensive, use a patch kit and reinforce the edges with additional sealant.
Yes, ManageMyRoof roofers can provide expert guidance on repairing a rubber roof for your travel trailer. Their team offers tailored solutions to ensure long-lasting protection.
You’ll need roof sealant, patch kits, roofing tape, a putty knife, cleaning supplies, and protective coatings. Choose materials based on your trailer’s roof type for effective repairs.
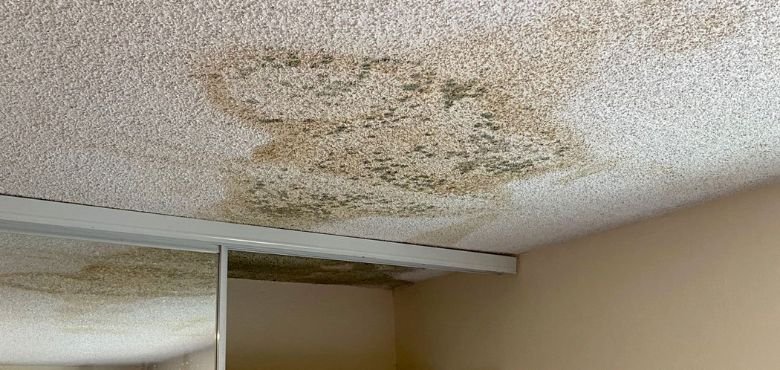
To detect damage on your travel trailer roof, look for water stains, soft spots, or cracks on the roof and ceiling. Perform regular inspections, especially after heavy rain, and check for peeling sealant or loose seams.
Yes, you can repair your travel trailer roof with the right tools and materials. But for major damage, consult a professional to ensure a durable fix.
To protect your travel trailer roof and maintain its good health, make sure you perform regular inspections, proper cleaning, and reseal seams.
Walking on the travel trailer roof totally depends on the type of roofing material and its structural strength.
No, travel trailer roofs require flexible and lightweight materials like EPDM, TPO, fiberglass, or aluminum designed for mobility and durability.


Leave a Reply