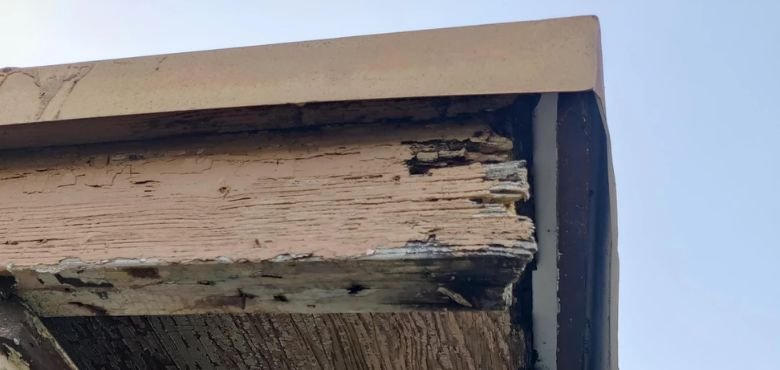
Your roof is all well-structured and stable due to the strength and integrity of the joists. However, when these joists start to rot, it compromises not just the roof’s stability but also the safety of the entire structure. Yes, therefore, it is always smart to keep a frequent check on the condition of your roof joists to catch potential issues early. Here, you will discover how to repair rotted roof joist ends, identify the signs of rotted roof joist ends, assess the extent of damage, and take effective steps to restore their integrity.
First of all, you will need to understand the core factors that contribute to rotted roof trusses to address the issue effectively. Once you learn to identify these root causes, you can take preventive measures and minimize future damage. To make your work quite easy, we have mentioned a comprehensive list of common causes behind rotted roof trusses, along with ways to identify them.
Is “how to repair a rotted roof truss” is still still on your mind? If so, here’s a guide to the tools and materials you’ll need to fix a rotted roof truss effectively. Having the right equipment ensures the repair is both durable and safe:
Now that you are all set with all the tools and equipment, it’s time to perform the necessary steps to fix a roof truss. Here is what you need to do:
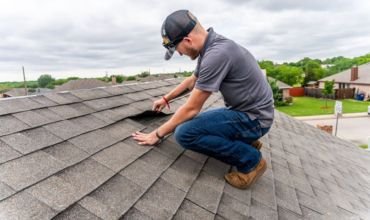
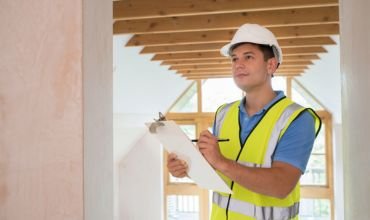
Start by examining the roof truss thoroughly to identify the extent of the damage. Look for signs of rot, discoloration, and weakened wood. This will help you pinpoint the areas that need attention.
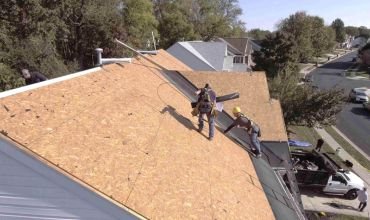
Using your saw, carefully cut away the damaged parts of the truss. Make sure you remove all the rotten wood, cutting back to solid, healthy material to ensure a strong base for the repair.
Measure the section you removed and cut a new piece of treated or rot-resistant lumber to match the size. Treated wood is crucial to prevent future rot and ensure durability.
Secure the replacement wood to the existing truss using heavy-duty screws, bolts, or metal plates. For added strength, consider sistering the truss—attaching an additional beam alongside the repaired section to reinforce the structure.
Coat both the repaired and existing wood with a wood preservative or sealant. This protects the truss from moisture and pests, preventing future damage.
After completing the repair, check the truss for alignment and stability. Ensure all connections are tight and the structure is sound. If necessary, consult a professional to verify the integrity of your work.
Implement preventive measures such as improving ventilation, fixing leaks promptly, and conducting regular inspections to catch potential issues early.
The protection of your home starts with a strong foundation, and equally important is the integrity of your roof. If you left your roof unchecked, rot can silently creep in and compromise its structural integrity. Taking proactive steps to prevent rot not only ensures the longevity of your roof but also avoids costly repairs down the line. Here is how you can prevent Future Rot In A Roof Truss:
Ensure Proper Ventilation- Moisture buildup is one of the leading causes of rot. Adequate attic ventilation allows hot air and moisture to escape, keeping your roof dry and safe.
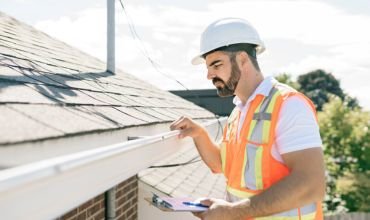
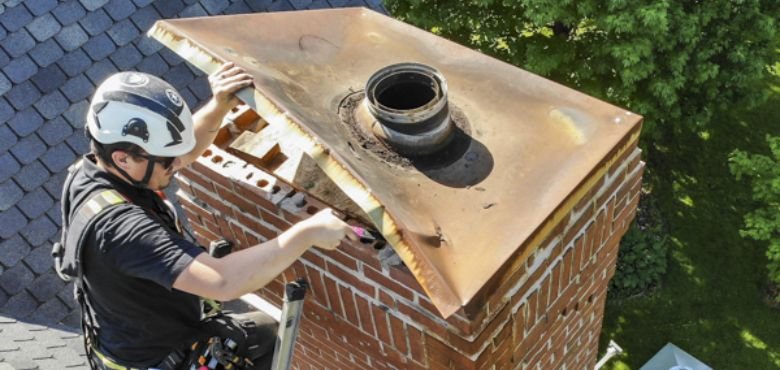
Regular Inspections– Perform routine checks on your roof to detect early signs of damage. Pay special attention to areas prone to leaks, such as flashing around chimneys and skylights.
Seal and Maintain– Apply waterproof sealants to vulnerable areas to protect them from water penetration. Maintain gutters and downspouts to ensure proper drainage and prevent water pooling.
Treat Wooden Structures – Use rot-resistant preservatives to treat exposed wooden components like beams and joists. These treatments add an extra layer of defense against moisture and fungal growth.
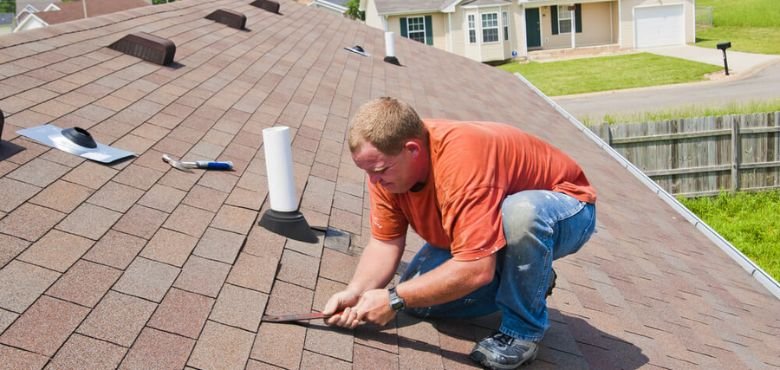
Address Leaks Immediately– A small leak can escalate into major damage if ignored. Promptly repair any leaks to prevent water intrusion, which can lead to rot over time.
So, now you have a comprehensive guide on how to repair a rotted roof and how you can save your roof from future damage caused by rot. Make sure you do all it takes to ensure the longevity and stability of your roof. From early inspections to timely repairs, applying protective measures, and addressing any issues promptly, these proactive steps will go a long way in safeguarding your roof against potential rot.
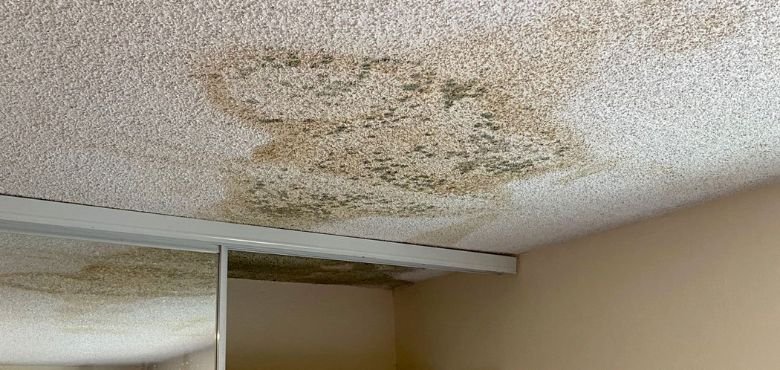
Look for signs such as discoloration, softness, crumbling wood, or a musty smell. You may also notice sagging or weakened areas in the roof structure.
You’ll need a saw, hammer, screws, bolts, treated wood or rot-resistant material, wood preservative, and safety gear like gloves and goggles.
Carefully cut away the damaged portion using a saw. Ensure you cut back to solid, healthy wood to provide a stable base for the repair.
Sistering is a common method. This involves attaching a new piece of treated wood alongside the existing joist and securing it with screws or bolts for added strength.
Ensure proper ventilation in the attic, fix leaks promptly, and use treated or rot-resistant wood. Applying a wood preservative can also help protect against moisture and pests.
If the damage is minor and you have the necessary skills and tools, you can attempt the repair yourself. For extensive damage or structural concerns, it’s best to consult a professional.
To repair a rotted roof rafter, cut out the damaged section and replace it with treated wood, then secure and seal it to prevent future rot.
With proper materials and preventive measures, a repaired joist can last for many years. Regular maintenance and inspections are key to ensuring its longevity.


Leave a Reply